<!doctype html>
What is Ubuntu? A Friendly Introduction + Step‑by‑Step Install (Dual‑Boot with Windows)
Ubuntu is a free, open‑source operating system for your computer. It’s fast, secure, and easy to use. This page explains what Ubuntu is and shows you how to install the latest Ubuntu — either as your only system or safely alongside Windows (dual‑boot). Everything is written for beginners.
Works with UEFI & Secure Boot
Beginner‑friendly
What is Ubuntu?
Ubuntu is a popular Linux‑based operating system (OS). Like Windows or macOS, it helps you run apps, connect to the internet, open files, and do your work—only it’s free, open‑source, and designed with privacy and security in mind. Ubuntu comes with the user‑friendly GNOME desktop and includes essentials like a web browser, office suite, media tools, and an app store.
Ubuntu is developed by Canonical together with a huge community. A new version arrives every April and October. Every two years, the April release is an LTS (Long‑Term Support) edition that receives security updates for many years.
Which version should I install?
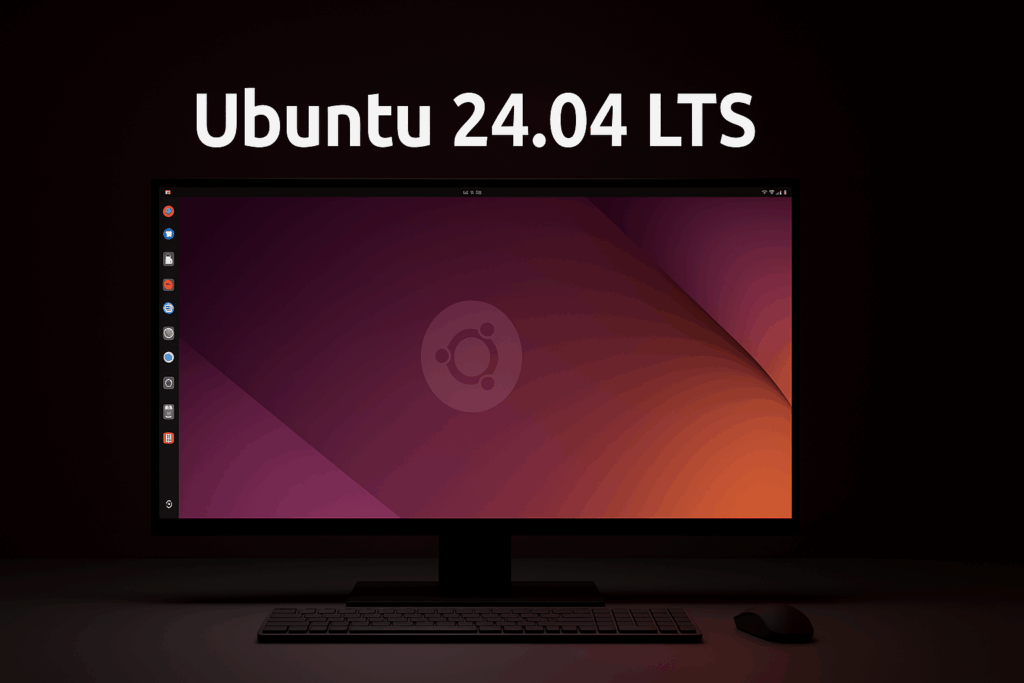
 Ubuntu 24.04.3 LTS (recommended)
- Best for beginners, home and work.
- Long‑term updates (standard support to 2029; optional extended to 2036).
- Very stable, works great on most PCs and laptops.
Ubuntu 25.04 Interim
- Newest features and hardware enablement.
- 9 months of updates (good for testing new hardware).
- Upgrade to the next release in early 2026.
System requirements (Desktop)
- CPU: 2 GHz dual‑core or better (64‑bit)
- Memory: 4 GB RAM minimum (8 GB comfortable)
- Storage: 25 GB free space (more recommended)
- Graphics: 3D‑capable GPU, 1024×768+ display
- Boot media: 8 GB USB drive
- Internet: Helpful for updates and apps
Most modern PCs meet these requirements. For very old/low‑end hardware, consider lighter Ubuntu flavours (Xubuntu, Lubuntu, Ubuntu MATE).
Before you start (5‑minute checklist)
- Back up important files (Windows and/or external drive).
- Update Windows and drivers. Plug in power.
- Find your BitLocker device‑recovery key (Windows 11 often enables device encryption). Keep it handy.
- Free up space: Aim for 30–100 GB for Ubuntu.
- Download Ubuntu ISO (24.04 LTS recommended for beginners).
- Verify the download (SHA256 checksum) to avoid a corrupted USB.
How to verify the ISO
On Windows (PowerShell):
certutil -hashfile ubuntu-24.04.3-desktop-amd64.iso SHA256Compare the hash to the official
SHA256SUMSon the Ubuntu download page.On Linux/macOS:
sha256sum ubuntu-24.04.3-desktop-amd64.iso
Create the installer USB (Windows or Linux)
On Windows (using Rufus)
- Insert an empty 8+ GB USB drive.
- Open Rufus → Device: your USB.
- Boot selection: choose the Ubuntu
.iso. - Partition scheme: GPT; Target system: UEFI (non‑CSM).
- Click START → confirm writing in ISO mode → wait until done.
On Ubuntu/Linux (Startup Disk Creator or balenaEtcher)
- Insert an empty 8+ GB USB drive.
- Open Startup Disk Creator (or balenaEtcher).
- Select the Ubuntu
.isoand your USB device. - Click Make Startup Disk / Flash → wait until finished.
Install Ubuntu (single OS or dual‑boot)
A) Prepare Windows for dual‑boot
- Disable Fast Startup: Control Panel → Power Options → Choose what the power buttons do → uncheck “Turn on fast startup”.
- Suspend BitLocker/device encryption (if enabled): Settings → Privacy & Security → Device encryption → Turn off (or manage BitLocker in Control Panel) before resizing partitions.
- Shrink the Windows partition: Press Win+X → Disk Management → right‑click Windows (C:) → Shrink Volume… → free up 30–100 GB. Leave the new space unallocated.
B) Boot the USB installer
- Restart the PC and press the boot menu key (often F12, Esc, F10, Del).
- Select your USB drive (UEFI). Choose Try or Install Ubuntu.
C) Guided installation (easiest)
- Choose language & keyboard.
- Connect to Wi‑Fi (if needed) and tick Install third‑party software for Wi‑Fi/graphics firmware.
- When asked Installation type, pick Install Ubuntu alongside Windows Boot Manager.
If this option appears, the installer will automatically create Ubuntu partitions in the free space and set up the boot menu.
- Confirm changes → Install → Set your name, username, and password.
- When it finishes, remove the USB and reboot.
D) If “Install alongside Windows” is missing
Don’t worry—you can do it manually (see Manual partitioning). It’s just a few extra clicks.
Dual‑boot quick reference table
| Task | In Windows | In Ubuntu installer | Notes |
|---|---|---|---|
| Back up important files | Use File History or copy to external drive | — | Always back up before changing partitions. |
| Check BitLocker / device encryption | Suspend/turn off temporarily | — | Windows may ask for a recovery key after changes—keep it handy. |
| Free space for Ubuntu | Disk Management → Shrink C: | Choose Install alongside Windows or create partitions manually | Leave space unallocated; installer will use it. |
| Boot mode | UEFI (default on Windows 11) | UEFI | Keep both systems in the same mode (UEFI) for a smooth dual‑boot. |
| Secure Boot | Usually ON | Supported | Leave on unless a specific driver asks you to disable it. |
| Boot menu after install | — | GRUB menu: Ubuntu (default) + Windows Boot Manager | You can change the default later inside Ubuntu. |
Dualboot Ubuntu 24.04.3 LTS – Manual Partitioning with Separate / and /home
1. Preparation
-
In Windows, shrink the main C: partition to free up space for Ubuntu.
-
Boot your computer from the Ubuntu 24.04.3 LTS USB stick.
-
In the installer, choose Something else (Manual partitioning).
2. Partition Table
In the installer you will see something similar to your screenshot:
-
sda1 – NTFS (Windows recovery)
-
sda2 – VFAT (Windows Boot Manager)
-
sda3 – Microsoft Reserved (tiny partition)
-
sda4 – NTFS (Windows system partition)
-
Free space – unallocated space prepared for Ubuntu
Important: The EFI System Partition (ESP) is shown as VFAT (FAT32) in the Ubuntu installer.
3. Creating the Ubuntu Partitions
3.1 EFI partition (already exists)
-
Select sda2 (VFAT, Windows Boot Manager).
-
Click Change.
-
Set:
-
Use as: EFI System Partition
-
Mount point:
/boot/efi
-
-
Do NOT format it! – Windows needs this partition too.
3.2 Root /
-
Select Free space → click +.
-
Create a new partition:
-
Size: 30–50 GB
-
Use as: Ext4 journaling file system
-
Mount point:
/
-
3.3 Home /home
-
From the remaining free space create another partition:
-
Size: the rest of the free space
-
Use as: Ext4 journaling file system
-
Mount point:
/home
-
3.4 Swap (optional)
-
If you have ≤ 8 GB RAM, create a swap partition:
-
Size: 2–4 GB (or equal to RAM if you want hibernation)
-
Use as: swap area
-
If you have ≥ 16 GB RAM, you can skip this — Ubuntu will use a swapfile by default.
4. Bootloader
-
At the bottom, for Device for boot loader installation, select the entire disk (e.g.
/dev/sda). -
GRUB will install into the EFI partition (VFAT) and provide a boot menu for Windows/Ubuntu.
Final Layout Example
| Device | File system | Mount point | Notes |
|---|---|---|---|
| sda2 | VFAT (FAT32) | /boot/efi |
Existing EFI partition, do not format |
| sdaX | ext4 | / |
New root partition, 30–50 GB |
| sdaY | ext4 | /home |
New home partition, rest of free space |
| (sdaZ) | swap | — | Optional, 2–8 GB |
This way, Ubuntu will reuse the existing EFI (VFAT) partition safely and set up separate / and /home partitions for a clean dualboot.
After installation (10‑minute checklist)
- Choose your OS: On startup, the GRUB menu lets you pick Ubuntu or Windows.
- Run updates: Open Software Updater or run
sudo apt update && sudo apt upgrade. - Enable drivers & firmware: Open Software & Updates → Additional Drivers and run
sudo fwupdmgr get-devices && sudo fwupdmgr update. - Install apps: Discover (App Center), or
sudo apt installin Terminal. - Backups: Open Backups (Déjà Dup) to set an automatic schedule.
- Optional: Enable Flatpak or use snaps, set dark mode, add printers, etc.
Troubleshooting
PC boots straight to Windows (no GRUB)
- Enter your firmware/BIOS and set Ubuntu (or grubx64.efi) first in the boot order.
- Disable Fast Boot in the firmware and Windows Fast Startup.
- From a live USB: open Terminal →
sudo os-prober && sudo update-grub.
Windows asks for a BitLocker recovery key
- This is normal after boot changes. Retrieve the key from your Microsoft account or your organization’s admin, enter it once, and Windows will learn the new boot path.
No Wi‑Fi / graphics issues
- Connect via Ethernet or phone tethering and run Software & Updates → Additional Drivers.
- Try the latest hardware enablement (interim release) if your brand‑new device isn’t fully supported on LTS yet.
Time is wrong between Windows and Ubuntu
- Set both systems to use the internet time servers (NTP). In Ubuntu: Settings → Date & Time → Automatic.
FAQ
Is Ubuntu really free?
Yes. You can download, install, and use Ubuntu for free on any number of devices.
Will dual‑booting erase Windows?
No. Dual‑boot keeps Windows. You choose the OS at startup. Only selecting “Erase disk and install Ubuntu” would remove Windows.
Can I uninstall Ubuntu later?
Yes. You can remove the Ubuntu partitions from Windows Disk Management and restore the Windows bootloader. Always back up first.
What’s the difference between LTS and Interim?
LTS gets long‑term updates and is ideal for most users. Interim releases bring the newest features and hardware support but have a shorter support window.
Lenovo ThinkPad P14s Gen 6 AMD
– mobile workstation with official Ubuntu certification
Configuration: AMD Ryzen AI 7 PRO 350, 32 GB DDR5 RAM, 1 TB NVMe SSD, integrated Radeon 880M graphics, 14″ WUXGA display (1920×1200, 400 nits, anti-glare), Wi-Fi 6E / BT 5.4
approx. £1,800 (reference price)Show detailsHide details
- Ubuntu 24.04 LTS certified: Lenovo and Canonical verified full hardware support (CPU, GPU, Wi-Fi, suspend/resume, firmware updates via LVFS).
- Display: 14″ IPS WUXGA (16:10) with 400 nits brightness and anti-glare finish, comfortable for indoor and outdoor work.
- Performance: 8-core Ryzen AI PRO 350 with Radeon 880M iGPU handles multitasking, development workloads, and Linux graphics acceleration smoothly.
- Security and manageability: AMD PRO features, TPM 2.0 chip, and enterprise-grade ThinkPad security.
Why it is “Linux-ready”
- Official certification: guaranteed support on Ubuntu 24.04 LTS and upcoming releases.
- Battery life: up to 12 hours depending on configuration and power mode.
- Developer-friendly: seamless Wayland support, multi-monitor setup, and open-source Radeon drivers.
Recommendations
- Install Ubuntu 24.04 LTS (OEM/HWE kernel) or Fedora 41+ for the latest drivers.
- After installation run
fwupdmgr updateand updatelinux-firmwarepackages. - Use
tlporpowertopto optimize battery life for daily use.
Affiliate links (Amazon/eBay/Smarty.cz via eHub). Buying through them supports this site’s operation and functionality at no extra cost to you.
Easy VPN for Linux – no complicated setup
If you don’t want to create your own VPN or you’re struggling to configure everything on Linux, here’s a simple solution. Try a ready-to-use VPN for Linux with a clean graphical interface – fast, secure, and hassle-free.
View deals on Amazon →Tip: Quick installation, user-friendly GUI, no unnecessary complexity.
Affiliate links (Amazon/eBay/Smarty.cz via eHub). Buying through them supports this site’s operation and functionality at no extra cost to you.

